TIPS FOR CLEANING YOUR VAPE TANK
May 24, 2023
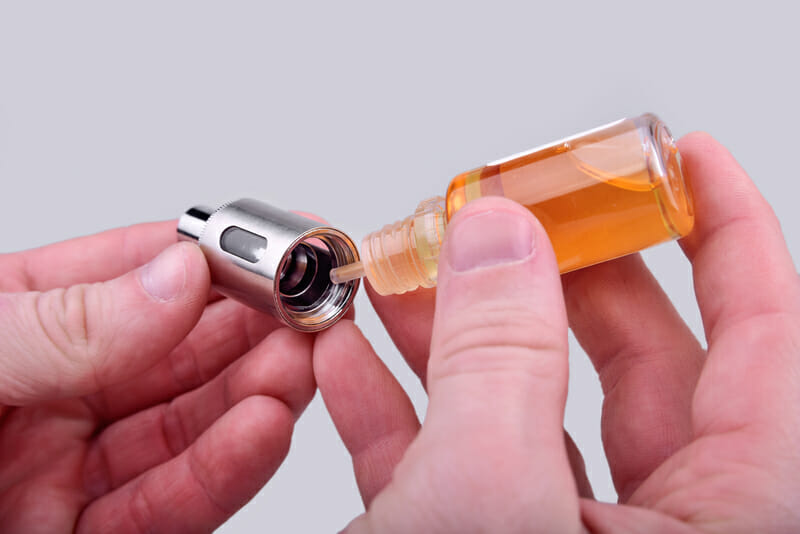
A clean vaporizer is essential for quality sessions every time. Besides cleaning the coils, mouthpiece, and outside of the device, users should pay close attention to how they clean the tank. After all, it’s where the product is stored and will have a profound effect on vapor flavor. While there are various vaporizer models on the market, all compatible with different products, we will focus on e-juice vaporizers for the purpose of this article.
Why Cleaning is Important
E-juice users who haven’t cleaned their tanks thoroughly between switching flavours may have experienced “ghost flavours” from their previous e-juice affecting their current session. To avoid this, a detailed cleaning job is necessary. No one wants menthol coffee vapor anyway!
Not only will you experience the purest of flavours with a clean tank, but your device will work better overall as well. E-juice with high VG content is thicker than 50/50 blends, so it tends to build up more quickly in a vaporizer tank. The gunk from e-juice can block air vents, leading to a malfunctioning device.
Lastly, the most important reason for cleaning your tank is for health and hygiene purposes. Bacteria from your saliva, or anyone else’s for that matter, can get into your tank from the mouthpiece. It’s important to thoroughly clean your tank to prevent bacteria build-up, contamination, and illness, especially if you have shared your vaporizer with others.
How to Clean Your Tank
There are a few different ways to effectively clean your tank. For most methods you will need a small bowl and a toothbrush for scrubbing the small parts. Before cleaning, disassemble your tank as much as possible to access every surface the e-juice has touched. Here are three of our favourite tank cleaning methods:
- PG Soak. Fill a small bowl with unflavoured PG and let your parts soak for at least 20 minutes. The PG will naturally attract any leftover flavouring lingering on the tank parts, so you can experience a pure new flavour. When it’s done soaking, take all of the parts out and let them drip dry on a paper towel or clean rag. This method is great for soaking up unwanted flavours and can be used as a quick cleaning method when switching flavours, but you may want to also clean the parts with vinegar, baking soda, or dish soap every so often to remove excess grime and bacteria.
- Natural Vinegar/Baking Soda. Fill a small bowl with pure vinegar OR a baking soda/water mixture and let soak for at least 20 minutes. Scrub every part with a toothbrush until clean. Rinse each piece thoroughly and let dry before reassembling. If using vinegar, rinsing is even more important for ridding the device of any lingering vinegar flavour. Vinegar is acidic and is useful for cleaning and disinfecting your device. The grittiness of baking soda will help get your tanks sparkling once more. Don’t combine vinegar and baking soda unless you want to perform an exploding science experiment. Plus, combining the two will create a chemical reaction that produces mostly water, so it will be like cleaning with just water.
Dish Soap. Good old-fashioned dish soap also works well for cleaning vaporizers. Just make sure that your tank is made with materials that won’t corrode from dish soaps before using this method. For cleaning with dish soap, fill a small bowl with water and dish soap. Let the pieces soak and then scrub with a toothbrush. Rinse thoroughly and dry before reassembling.
